From Raw Ingredient to Nutritious Meal: The Manufacturing Process of Cat Food
Providing our feline companions with safe, nutritious, and palatable food is a complex science. The journey from raw materials to the kibble or pouch in your cupboard involves sophisticated technology and rigorous quality control. The manufacturing process primarily differs between dry food (kibble) and wet food, but both share a common goal: creating a complete and balanced diet for cats.
I. Dry Cat Food (Kibble) Production
Kibble is the most common form of cat food, known for its convenience and long shelf life. Its production is a multi-step, high-temperature, high-pressure process.
1. Ingredient Reception and Grinding
The process begins with the delivery and inspection of raw materials. These include protein sources (like chicken meal, fish meal, or grains), fats, vitamins, and minerals. Ingredients are tested for quality and safety before being accepted. They are then ground into a fine, uniform powder or meal. This grinding ensures a consistent mixture and allows for easier digestion.
2. Mixing and Blending
The ground ingredients are precisely weighed and transferred into a large mixer. Here, they are blended with water, steam, and sometimes liquid fats to form a thick, dough-like consistency. This step is critical for ensuring every piece of kibble will have a uniform nutritional profile.
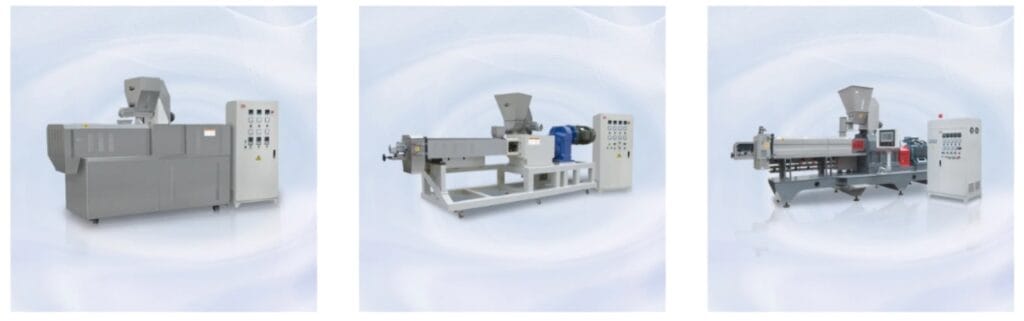
3. The Heart of the Process: Extrusion
The mixed dough is fed into an extruder—a large, industrial machine that is key to kibble production. Inside the extruder:
- Cooking: The dough is subjected to high heat, pressure, and continuous shear force as it is pushed through a barrel by a giant screw. This process cooks the ingredients, sterilizing them and making the starches more digestible.
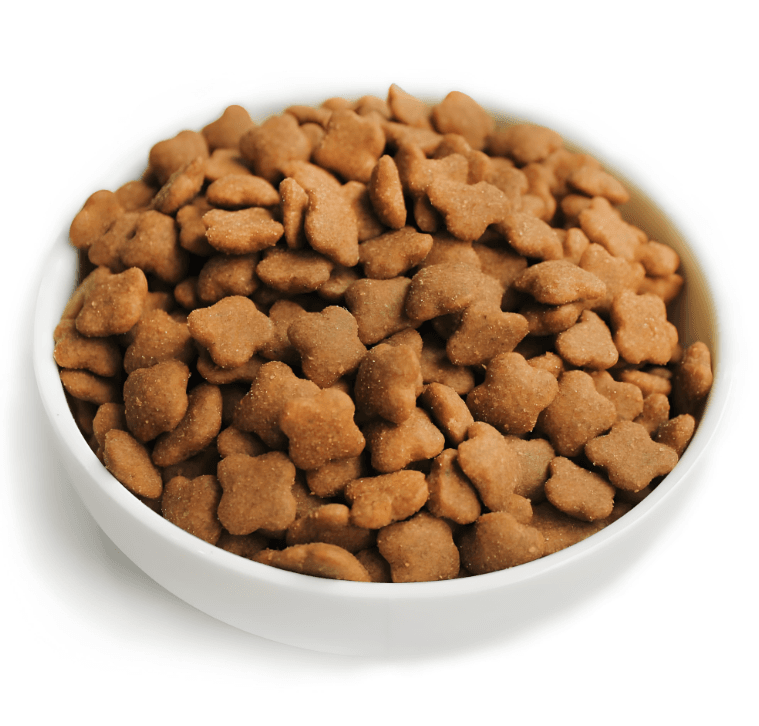
- Shaping: At the end of the barrel, the cooked dough is forced through a metal die plate with precisely shaped holes. This gives the kibble its characteristic shape (e.g., stars, fish, ovals).
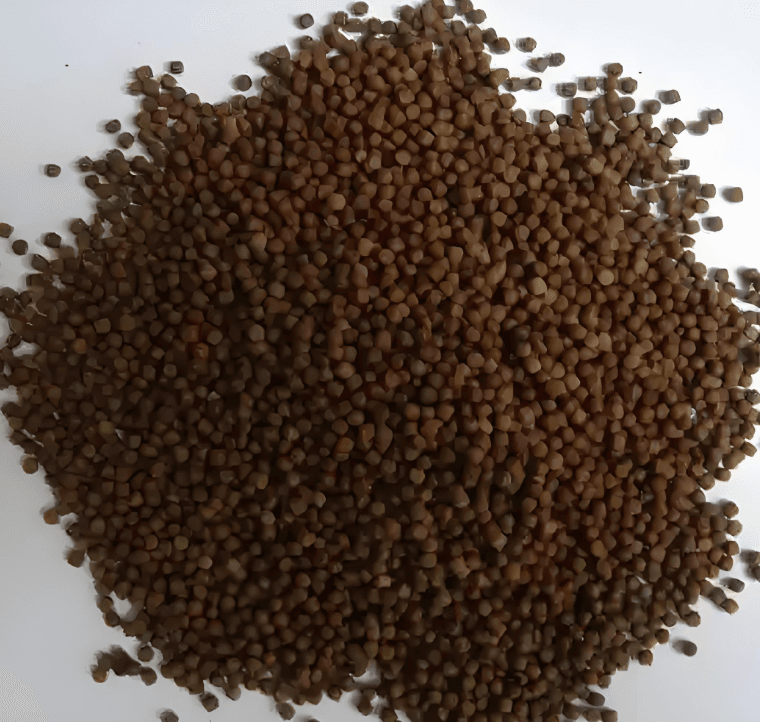
- Expansion: As the pressurized dough exits the die into the normal atmosphere, it instantly expands, creating the porous, airy texture that is characteristic of dry kibble.
4. Drying and Cooling
The newly formed, soft, and moist kibble is then conveyed to a large, multi-stage dryer. Hot air is blown through the kibble to remove most of the moisture, reducing it to around 6-10%. This low moisture content is what gives dry food its long shelf life and crunch. After drying, the kibble is cooled to a safe temperature for handling and coating.
5. Coating (Enrobing or Palatability Enhancement)
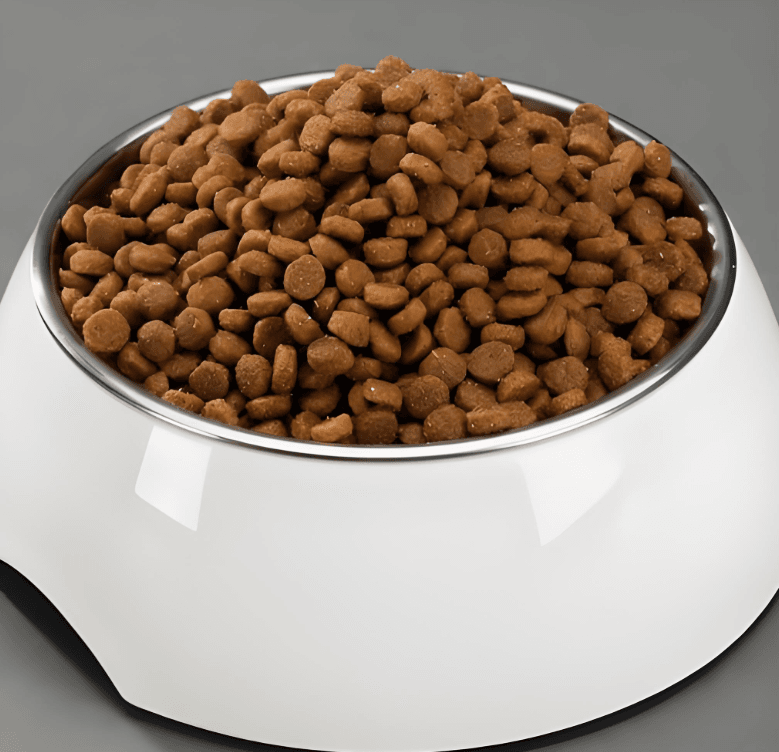
The drying process can reduce the food’s natural aroma and taste, which is crucial for enticing picky feline eaters. To counter this, the kibble is tumbled in a large drum while a fine mist of digest (a liquefied protein source), fats, and flavor enhancers is sprayed onto it. This coating, also called enrobing, significantly increases the food’s palatability. Essential nutrients that are sensitive to heat, such as certain vitamins and amino acids like taurine (which is vital for cats), are often added at this stage.
6. Packaging
The finished kibble is transported to packaging lines, where it is automatically weighed and filled into bags. These bags are flushed with inert gases like nitrogen to displace oxygen before sealing. This “nitrogen flushing” prevents oxidation and rancidity, preserving the food’s freshness and extending its shelf life.
II. Wet Cat Food Production
Wet food, found in cans, pouches, or trays, has a much higher moisture content (around 75-85%) and a different production method focused on sterilization within its container.
1. Ingredient Preparation and Mixing
The process for wet food starts with the preparation of ingredients. Muscle meats, organs, and by-products are ground or chopped. These are then mixed with water, gravy, gelling agents (like carrageenan or agar-agar), vitamins, and minerals in a massive blender to create a uniform slurry or a coarse “chunk and gravy” mixture.
2. Filling and Sealing
The mixture is then fed into a filling machine that precisely deposits the correct amount into cans, pouches, or trays.
- For Cans: The lids are placed on top and seamed onto the can body, creating an airtight seal.
- For Pouches/Trays: The packaging is heat-sealed to ensure it is completely closed.
3. Sterilization (Retorting)
This is the most critical step for safety. The sealed containers are loaded into large, industrial pressure cookers called retorts. They are heated to very high temperatures (often over 120°C or 250°F) under pressure for a set time. This process destroys all harmful bacteria, molds, and spores (such as Clostridium botulinum, which causes botulism), making the product commercially sterile and safe for long-term storage at room temperature. The cooking process inside the sealed container also gives wet food its characteristic texture and cooked flavor.
4. Cooling and Labeling
After sterilization, the containers are cooled with water. Once they are safe to handle, they are dried, labeled, and packed into cardboard boxes for distribution.
Quality Control: A Constant Priority
Throughout both processes, stringent quality control is paramount. Manufacturers conduct frequent checks, including:
- Raw Material Inspection: Testing for contaminants and verifying nutritional content.
- In-Process Checks: Monitoring temperature, pressure, moisture, and weight.
- Finished Product Analysis: Testing for nutritional adequacy, moisture content, and microbiological safety to ensure the final product meets both the company’s standards and regulatory requirements.
The production of cat food is a fascinating blend of nutritional science, food engineering, and stringent safety protocols. Whether it’s the high-pressure extrusion that creates crunchy kibble or the precise retorting that preserves moist chunks in gravy, each step is meticulously designed to deliver a safe, stable, and nutritionally complete food that meets the specific biological needs of our beloved cats.
Leave A Comment